Quick reference
Win condition: Sidestep Painting Lance lines and defeat the Shade before Moon Veil.
Default positions: Stay centre until a wall lights, then step into the dark frame.
Tank: keep Gallery Shade facing away from the party during Painting Lance.
Healers: shield before Frame Trap; expect a raidwide immediately after.
DPS: stop casting and move for Moon Veil; resume once safe spots light up.
If two people share a spread marker, both die. Treat spreads as hard fails.
Full explanation
The Hollow Moon Gallery is a fictional Endwalker dungeon written so the site can demonstrate encounter-guide structure without naming a real duty. Clear the fight by surviving two scripted phases and finishing Gallery Shade before the enrage cast completes.
Phase 1: establish space
Gallery Shade opens with Painting Lance. The cast draws a cone on the ground. Stand outside the cone, then collapse to the north safe slice when the telegraph fades.
Tanks establish enmity with a full combo before the first Painting Lance.
Healers pre-shield the offtank if a tank buster follows within two GCDs.
Melee hold positionals until the cone resolves; ranged stay on the south arc.
After the first cone, Gallery Shade fires Frame Trap. This is a stack marker plus a delayed puddle under the stack point. Soak together, then leave the puddle before the second pulse.
Phase 2: split and resolve
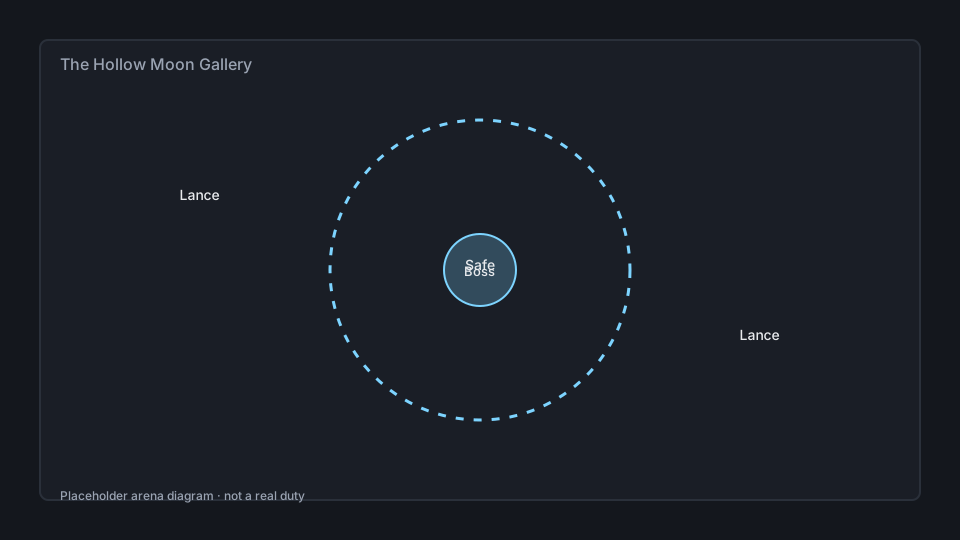
At about 55% HP, Gallery Shade leaps to mid and starts Moon Veil. Four players receive spread markers; the rest soak a centre tower. Spreads walk to the cardinals. Tower soakers stay mid until the tower detonates, then rotate clockwise one slice for the follow-up line AoEs.
Call spreads early so melee do not steal a cardinal from a ranged player.
Pop party mitigation on the tower hit. The damage is heavy but predictable.
Raise any death before the enrage window; Limit Break 3 is optional on Normal.
Variants
Default (recommended): north tank, south party, cardinal spreads, mid tower.
Prog variant: both healers soak the tower while DPS take all spreads. Use this if your melee keep dying on cardinals.
Farm variant: ignore the optional add and burn. Only do this once the party consistently clears the tower sequence.
FAQ
Does Painting Lance cleave through invuln? No. A well-timed invulnerability covers the tank buster that follows it.
Can one person solo the tower? Not on this placeholder duty. You need at least three soakers or the tower wipes the party.
Where do I stand for Moon Veil? Spreads on cardinals, everyone else mid until the tower pops, then one slice clockwise.